Key Points at a Glance
- Foundation: Connecting weclapp (ERP) and Shopify (frontend) is the gold standard in e-commerce for automating inventory management and sales operations according to weclapp.com and finaloop.com.
- Prerequisite: Native integration typically requires the 'ERP Handel' package; the Shopify integration itself is often free to install as a plugin but requires the corresponding weclapp license as detailed on zeeg.me and shopify.com.
- Data Flow: Orders flow from Shopify to weclapp; inventory and tracking data flow from weclapp to Shopify. Product data can be synchronized bidirectionally, with weclapp usually serving as the leading system.
- AI Angle: Modern e-commerce strategies use ERP data not just for logistics but as a structured database (metafields, attributes) to power AI shopping consultants and frontend personalization.
- Troubleshooting: Common error sources include missing API permissions (scopes), incorrect payment and shipping method mappings, and discrepancies in product numbers (SKUs).
Introduction: Why 'Connecting' Alone Isn't Enough Anymore
In e-commerce, there's one combination that has established itself as the quasi-standard for growing brands: weclapp as inventory management (ERP) and Shopify as the shop system. The reasons are obvious: Shopify offers the best user experience and scalability on the frontend, while weclapp handles complex logistics, accounting, and process chains in the backend with full regulatory compliance.
However, most merchants and agencies make a critical mistake: They view the weclapp Shopify connection purely from an operational perspective. The goal is usually just: 'When an order comes in, inventory should decrease.' In 2024 and beyond, that's simply not enough anymore.
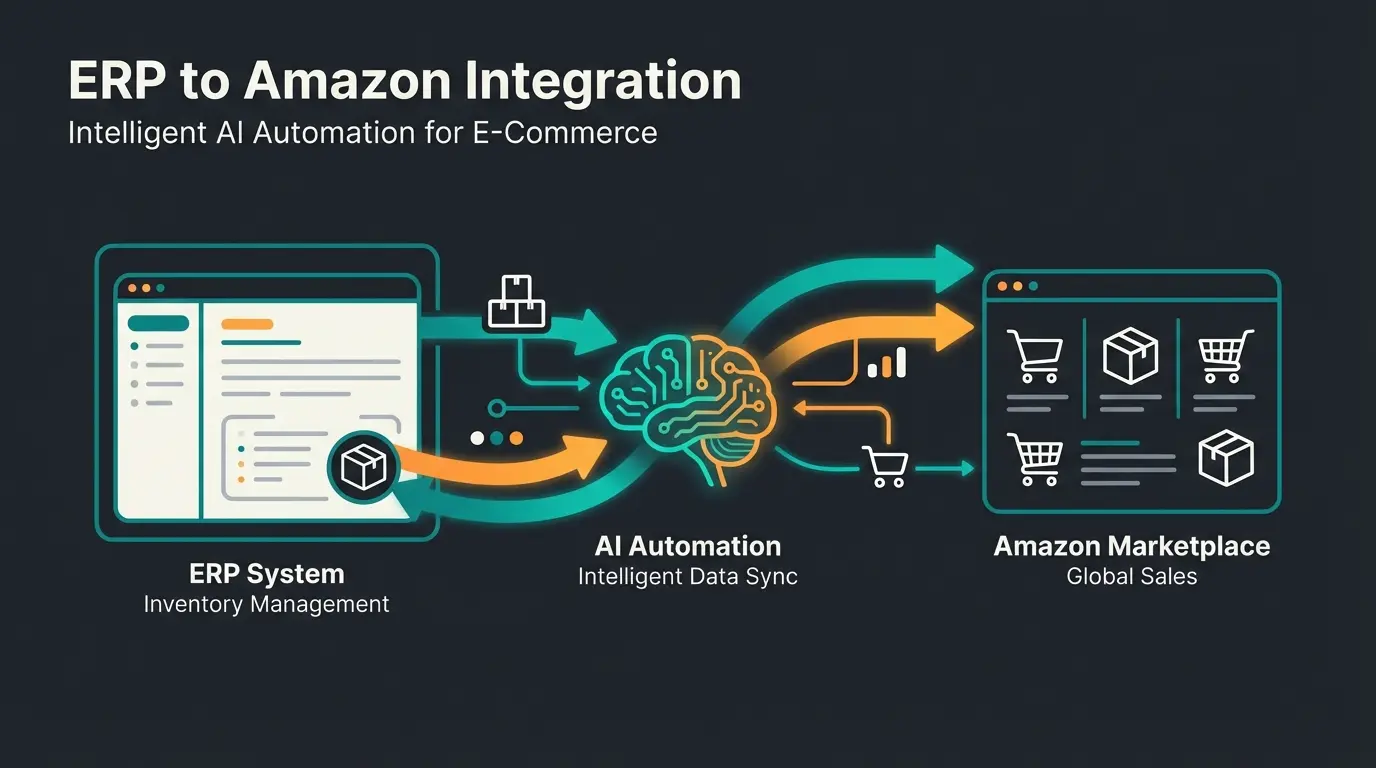
In an era where Artificial Intelligence (AI) is revolutionizing e-commerce, your weclapp database is no longer just an inventory management tool – it's the brain of your business. An AI-based shopping advisor in your store's chat can only be as intelligent as the data it receives. If weclapp only contains 'Blue Shirt,' the AI on the frontend cannot recommend 'Perfect for summer, breathable and wrinkle-free.' Similar to how AI Employee 'Kira' transforms customer interactions, your data quality determines the intelligence of automated recommendations.
This guide is different from dry documentation. We'll walk you through the technical setup (in more detail than anyone else), but we'll also show you how to use your weclapp Shopify integration to create 'AI-Ready Data.' We bridge the gap between logistics and customer experience.

Part 1: The Basics – How the Native Integration Works
Before we dive deep, we need to understand the foundation. The weclapp Shopify interface isn't a one-way street, but it has clear traffic rules. Understanding the 'Leading System' concept is the key to avoiding data chaos.
Data Flow: What Moves Where?
The native interface works bidirectionally, but different directions apply to different data types. Here's the 'Sync Direction Matrix' you need to know before making your first click:
| Data Type | Direction | Leading System | Description |
|---|---|---|---|
| Orders | Shopify → weclapp | Shopify | As soon as a customer buys, the order is imported into weclapp. |
| Inventory (Stock) | weclapp → Shopify | weclapp | Weclapp calculates available inventory (physical minus reserved) and pushes it to the store. |
| Product Data | Bidirectional (Configurable) | weclapp (Recommended) | Titles, descriptions, prices. Best practice: Maintain data centrally in weclapp. |
| Customers | Bidirectional | Both | New customers in the shop are created in weclapp; changes can be synchronized. |
| Tracking/Shipping | weclapp → Shopify | weclapp | Once delivery is created in weclapp, Shopify receives the tracking ID and 'Fulfilled' status. |
| Images & Variants | weclapp → Shopify | weclapp | Variants (size/color) and images are typically transferred initially from weclapp. |
Prerequisites & Costs
A common misconception involves the costs. The Shopify App itself is often listed as 'Free Installation' in the store according to shopify.com, but that's only half the truth.
- Weclapp License: To use the API interfaces and e-commerce connector, you typically need the ERP Handel package (or ERP Dienstleistung with corresponding add-ons). The starter package often isn't sufficient for complex API integrations as noted on weclapp.com and navaya.de.
- Shopify Plan: Any active Shopify plan (Basic and higher) supports API integration.
Part 2: Step-by-Step Setup (The 2025 Update)
Many video tutorials on youtube.com show outdated user interfaces. Shopify has changed how apps are authorized (transition from Private Apps to Custom Apps with granular Admin API Scopes). Here's the current process.
Phase 1: Preparation in Shopify (API Access)
For weclapp to access Shopify, you need to create a 'key.'
- Go to your Shopify Admin area under Settings > Apps and Sales Channels.
- Click on Develop apps (usually top right).
- Create a new app (name it e.g., 'Weclapp Connector').
- IMPORTANT - API Permissions (Scopes): This is error source #1. Weclapp needs Read AND Write permissions for almost all areas. Make sure to activate: `write_products` / `read_products`, `write_orders` / `read_orders`, `write_customers` / `read_customers`, `write_inventory` / `read_inventory`, `write_fulfillments` / `read_fulfillments`, `write_shipping` / `read_shipping`. According to microsoft.com, stackoverflow.com, and shopify.dev, missing permissions later lead to errors like '403 Forbidden'.
- Install the app and copy the Admin API access token. (Caution: This is only displayed once!)
Navigate to Settings > Apps > Develop apps and create new app with proper naming
Enable all required read/write permissions for products, orders, customers, inventory, fulfillments, and shipping
Install app and securely copy the Admin API token (shown only once)
Add new shop under Global Settings > Integration > Shops using your myshopify.com URL
Set up payment status, shipping carrier, and leading system mappings
Place a test order and verify complete data flow through tracking code delivery
Phase 2: Establishing Connection in Weclapp
- Log into weclapp.
- Navigate to Global Settings > Integration > Shops.
- Click + Add New Shop and select Shopify.
- Enter your Shop URL (the internal URL: `myshop.myshopify.com`, not the custom domain!) as documented on navaya.de and weclapp.com.
- Paste the API token from Phase 1.
Phase 3: The Critical Mapping (Avoid the Chaos)
Now you decide how data gets translated.
- Order Status: Map the Shopify status 'Paid' to a weclapp status that triggers logistics (e.g., 'Order Released'). Map 'Pending' to 'Prepayment Open'.
- Inventory Management: Activate the checkbox for 'Inventory sync active'. Ensure weclapp is the leading system. If you forget this, you'll sell products you don't have as explained in the weclapp documentation.
- Shipping Methods: Link the Shopify shipping method 'Standard Shipping' with the weclapp shipping provider (e.g., 'DHL Parcel'). Without this mapping, weclapp cannot send tracking numbers back to Shopify!
Part 3: Beyond the Basics – Preparing Data for AI
Here we leave the territory of standard agencies and enter the realm of high-performance e-commerce. Your goal isn't just to ship packages, but to provide outstanding consultation on the frontend (Shopify) – often automated through AI tools or filters. This is exactly what enables solutions like AI product consultation to deliver personalized recommendations.
The Problem: Garbage In, Garbage Out
AI isn't magic; it's statistics. If your data in weclapp is unstructured, the output in the shop will be worthless.
- Bad example: Product description in weclapp: 'Men's T-Shirt Blue Size L, Cotton'. Everything in one text block.
- The problem: A filter app or AI bot cannot know that 'Cotton' is the material.
The Solution: Structured Custom Fields & Metafields
Weclapp offers powerful functions for custom fields that many users ignore according to the weclapp documentation.
Step 1: Define Attributes in Weclapp
Instead of hiding product properties in flowing text, create structured fields in weclapp under Settings > Custom Fields:
- `Custom_Field_Material` (Type: Selection Menu)
- `Custom_Field_Season` (Type: Selection Menu)
- `Custom_Field_Care_Instructions` (Type: Text)
Step 2: Transfer to Shopify Metafields
The native weclapp interface has limitations when transferring individual custom fields directly to Shopify 2.0 Metafields as noted on shopify.com and shopifymarketplaceconnecthelp.com.
- Native Solution: Often custom fields are 'appended' to the product description or transferred as tags.
- Pro Solution (Middleware): To populate real Shopify Metafields (namespace `custom.material`) that can be read by AI bots, you often need an intermediate step. Tools like Synesty or Matrixify can export data from weclapp, transform it, and write it precisely into Shopify Metafields according to matrixify.app, youtube.com, and synesty.com.
The AI Advantage: When your data arrives this structured in Shopify, a plugin like an 'AI Shopping Assistant' can: 1) Read the metafield `Season: Summer`. 2) Read the metafield `Material: Linen`. 3) Suggest exactly this product to the customer when they ask 'What should I wear on vacation in Italy?' This is similar to how AI Paul delivers contextual recommendations based on structured product data.
Stores with AI product recommendations see significantly higher conversion rates
Accurate product matching through AI decreases return rates
Customers interact more with intelligent product suggestions
AI-powered cross-selling increases average order value
See how AI-powered product consultation uses your weclapp data to deliver personalized recommendations and double your conversion rate.
Start Your Free TrialPart 4: Troubleshooting Guide – When Things Get Rough
Even with the best setup, errors occur. Save this section as your 'Emergency Cheat Sheet.' Here are the most common problems we see in practice and their solutions.
Problem 1: Orders Not Being Imported
- Symptom: A customer buys in Shopify, but no order appears in weclapp.
- Cause: Usually it's the payment mapping. If a payment method was newly added in Shopify (e.g., 'Klarna Invoice') but isn't assigned in weclapp, weclapp often blocks the import.
- Solution: Check the 'Payment Methods' tab in the weclapp shop settings. Every Shopify method needs a weclapp counterpart. Also check if the order in Shopify is 'archived' – archived orders are often ignored.
Problem 2: Inventory Not Synchronizing
- Symptom: Weclapp shows 10 units, Shopify shows 0 (or vice versa).
- Cause A: The SKU (product number) isn't identical. Weclapp and Shopify match products primarily via SKU. A space or hyphen difference is enough to break the sync.
- Cause B: The leading system is set incorrectly. If Shopify says 'Inventory tracked by: Shopify,' Shopify will overwrite weclapp data. It must be set to 'Inventory tracked by: Weclapp' (or the app name) as specified on shopify.com.
Problem 3: Tracking Number Missing in Shopify
- Symptom: Goods are shipped, customer doesn't receive shipping email.
- Cause: Missing mapping of the shipping provider. Weclapp only sends the tracking ID when it knows what the provider is called in Shopify.
- Solution: Ensure a shipping method is set in the weclapp order and that it's correctly mapped in the interface settings.
Problem 4: '403 Forbidden' or API Errors
- Symptom: Nothing works anymore. Red light in the sync log.
- Cause: Often new API versions were introduced in Shopify or the token permissions were reduced.
- Solution: Check the app permissions in Shopify according to shopify.com. If necessary, renew the API token and re-enter it in weclapp.
| Error | Common Cause | Quick Fix |
|---|---|---|
| Orders not importing | Payment method not mapped | Add mapping in weclapp Shop Settings > Payment Methods |
| Stock discrepancy | SKU mismatch or wrong leading system | Verify SKUs match exactly; set weclapp as leading system |
| No tracking in Shopify | Shipping carrier not mapped | Map weclapp carrier to Shopify shipping method |
| 403 Forbidden | Expired token or missing scopes | Regenerate API token with full permissions |
| Variants not syncing | Variant options mismatch | Ensure variant structure (size, color) matches both systems |
Part 5: Native Plugin vs. Middleware – Decision Matrix
Should you use the built-in interface or spend money on tools like Synesty, Billbee, or Xentral? The answer depends on your specific use case.
When the Native Weclapp Integration Is Sufficient
- You have one Shopify store.
- You sell standard products (no complex bundles that are only assembled during packing).
- You don't need complex logic (e.g., 'If customer from Switzerland, change product description').
- You want to save costs (usually included in the ERP license price).
When You Need Middleware (e.g., Synesty, Billbee)
- Complex Metafields: As described in Part 3, when you need to map weclapp custom fields to specific Shopify metafields for AI applications according to synesty.com.
- Multiple Warehouse Locations / Logic: You want to send stock from Warehouse A only to Shopify DE and Warehouse B to Shopify US. The native interface often reaches its limits here.
- Data Transformation: You need to rewrite product numbers during export (e.g., add prefixes) to match a marketplace.
- Billbee as Intermediate Step: Some merchants use Billbee for multi-channel synchronization and weclapp only for accounting according to synchron.io and constacloud.com. This is possible but increases complexity.
Our Recommendation: Start with the native integration. It's robust and covers 90% of use cases. Only switch to middleware when you need to solve specific data problems (like the AI metafield topic). Companies like those using AI Employee Alex typically start simple and add complexity only when needed.

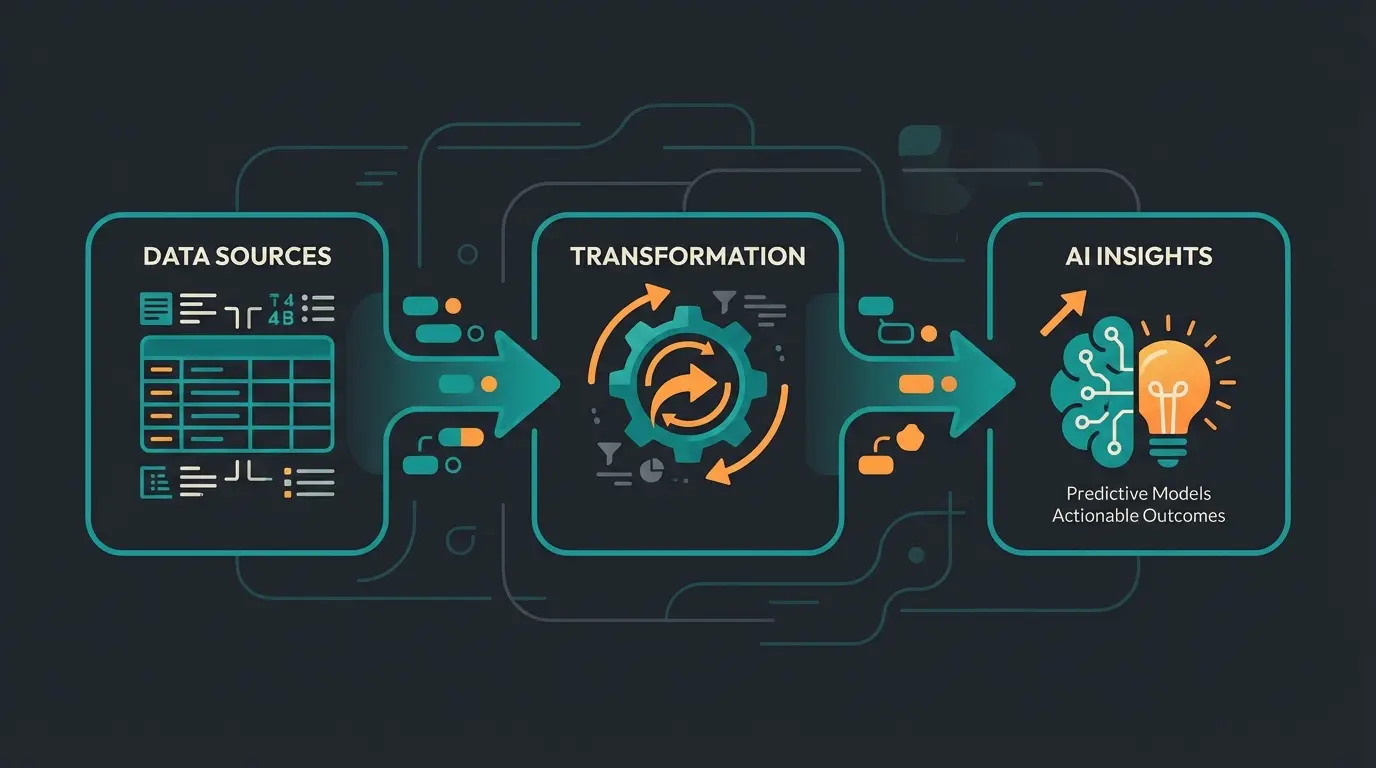
The Modern Data Flow: From ERP to AI Consultant
Understanding the complete data journey is crucial for maximizing the value of your weclapp Shopify e-commerce integration. The flow doesn't end at synchronization – it extends all the way to customer interaction.
The ideal setup creates a continuous pipeline: Weclapp ERP (Master Data) → Shopify (Storefront) → Your AI Solution (Consultant) → Happy Customer. Each stage adds value, but only if the data quality is maintained throughout. This is how solutions like AI Chat deliver exceptional customer experiences.
When you structure your weclapp attributes properly – material, season, care instructions, use cases – this information flows through Shopify's metafields and becomes the knowledge base for your AI shopping assistant. The result? A customer asking 'What's good for sensitive skin?' gets recommendations filtered by your material attributes, not random suggestions.
Conclusion: Integration Is the Beginning, Not the End
Connecting weclapp and Shopify is technically done in a few hours. But the true value doesn't come from just 'laying cables' – it comes from the quality of the data flowing through those cables.
If you follow the data hygiene steps described in this article and structure your weclapp attributes cleanly, you're doing more than just synchronizing inventory levels. You're building the foundation for the next generation of e-commerce: Automated, AI-powered sales consultation based on reliable ERP data. Just like KI Mitarbeiterin Flora demonstrates, clean data enables intelligent automation.
Next Steps:
- Check your weclapp custom fields: Are they structured or chaotic?
- Perform the setup according to our guide.
- Test the sync with a test order (end-to-end: from order to tracking code).
Note: This article is based on the current technical status of weclapp and Shopify API documentation (as of 2024/2025). Interfaces evolve – always check the latest release notes.
Frequently Asked Questions
The Shopify plugin itself is free to install, but you need an active weclapp ERP Handel license (or equivalent) to use the API integration features. The ERP license is the real cost – plan accordingly when budgeting for your weclapp e-commerce integration.
SKU mismatches are the most common cause of sync failures. Weclapp and Shopify match products primarily by SKU. Even a single character difference (space, hyphen, case) will prevent synchronization. Always verify exact SKU matches before enabling sync.
Yes, but it requires proper data structuring. Instead of putting product attributes in description text, use weclapp's custom fields to create structured data (material, season, use case). This data can then flow to Shopify metafields where AI tools can read and use it for intelligent recommendations.
Start with the native weclapp Shopify connector – it handles 90% of use cases including order sync, inventory management, and basic product data. Only invest in middleware when you have specific needs like complex metafield mapping for AI applications, multi-warehouse logic, or data transformation requirements.
403 errors typically indicate permission problems. First, verify your Shopify app has all required read/write scopes enabled. If the problem persists, regenerate your Admin API token in Shopify (Settings > Apps > Develop apps > Your app > API credentials) and update it in weclapp's shop settings.
Now that your weclapp Shopify integration is optimized with clean, structured data, discover how our AI solution can transform that data into personalized customer experiences that drive conversions.
Get Started Free